Friday 24 August 2012

Harvesting Lavender


I don't have much of a green thumb, but one thing I've managed to grow very easily is lavender.


I love it. The smell gently blows in through our window and is so relaxing.


This year I want to hold on to it  even when the flowers finish blooming, so I learned how to harvest and dry lavender. Here is what I learned...


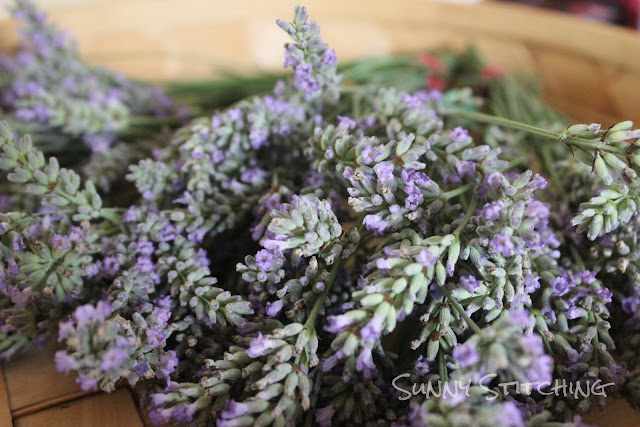
First, make sure you do it on a dry day in the morning. It was a great way for me to get outside earlier than I normally do. I felt so healthy! The kids played and I was able to keep an eye on them while I go to work. It was a little frightening at times because we have a LOT of bees that love the lavender as much as me. I put on a brave face and reminded myself of all the beekeepers that handle bees on a regular basis and then I began to cut. The stems I cut were about 6 to 8 inches long.


As I cut, I would bundle 20 stems and hold them together with a rubber band. When I ran out of rubber bands, I took my crop inside to do the rest. By then, my kids were ready for lunch so inside was a good place to be.


After getting the kids settled with their food, I unfolded enough paper clips and slid them through the rubber bands. You could also use ribbon, string or another type of clip.


My bundles were then ready to hang. They could be hung from a hanger, nails, hooks, etc. I hung them from our drying rack...
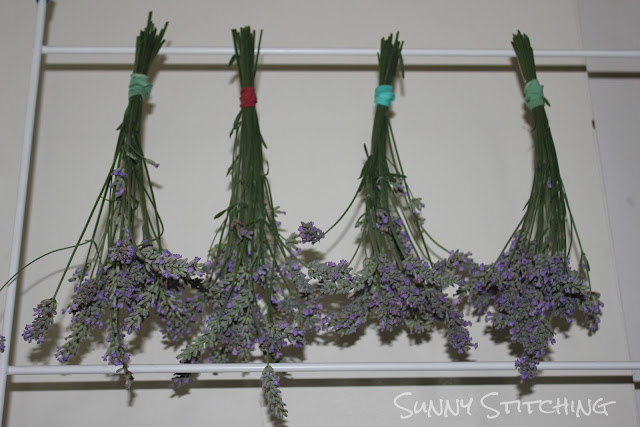


I made sure to space them apart enough so that the air could circulate.


Then I put them in a dry, dark place. Our only dry, dark place was the drying closet... 


I'll peek in on them occasionally so I know when they're dry...and to get a good whiff of the soothing scent.

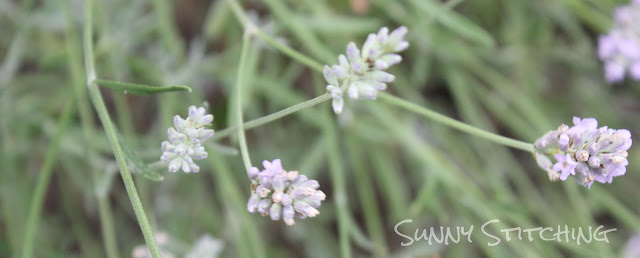
Friday Foto - Lavender & Bees (34 of 52)


The bees love our lavender this year!

It was a little bit of a challenge to remain calm yesterday when I was harvesting the lavender. I had many thoughts of them ganging up to attack me in revenge for taking their flowers, but, of course, I made it out alive and sting free.

Friday 17 August 2012

Blackberry and Rhubarb Crumble

 Mmmm...crispy, crumbly, sweet, sugary blackberry crumble.

I collected pounds of fresh blackberries on the way to the park with my family...and then I made this crumble. It's not your average blackberry crumble. It's also got a special ingredient from this week's veg box: rhubarb. After making some rhubarb bars a few months ago, I was so excited to see more rhubarb in my Riverford organic veg box. I used my favorite resource for finding new recipes (Google) and found a blackberry and rhubarb crisp recipe at Joy of Baking. I modified it a bit so that my crispy crumble would be sweet enough (the blackberries were pretty tart!) and have plenty of crispy topping (my favorite part!).

After sharing it with friends at a bbq last night, they all gave it a thumbs up, so now I'm sharing it with you. Here's what you need...

Crumbly Topping:
1 1/2 cup all purpose flour
3/4 cup brown sugar
3/4 teaspoon ground cinnamon
1/8 teaspoon salt
9 tablespoons unsalted butter, softened and cubed
3/4 cup rolled oats

Blackberry & Rhubarb Filling:
1 pound fresh rhubarb, sliced into small pieces
2 cups fresh blackberries
3/4 cup brown sugar
1/3 cup apple juice
1 tablespoon corn flour (cornstarch)
1 teaspoon vanilla extract


 Preheat oven to 375ºF (190ºC)
Place flour, brown sugar, cinnamon, salt, oats and butter in a bowl. Smash it together with your fingers until it mixes into coarse clumps. Set it aside.


Gently mix blackberries, rhubarb, and brown sugar in another bowl.


 In a small bowl, whisk together apple juice, corn flour, and vanilla. Add this mixture to the fruit and sugar. Gently toss it all together. Pour it evenly into a 9x9 baking dish. Then spread the crumbly topping mixture evenly on top of the fruit.

Place on centre rack in pre-heated oven and bake for 30-35 minutes or until golden brown. Remove from oven, let cool on cooling rack and then eat.


I like mine alone, but you can also enjoy it with cream or ice cream. If you make it, I'd love to hear how your turned out!

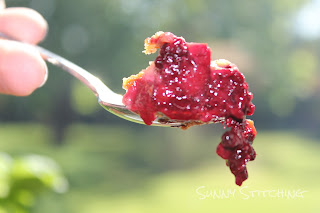
If you're not going to make it, don't worry, I saved you a bite...


Friday Foto - Blackberries (33 of 52)


Fresh frozen blackberries that we collected on a walk to the park.

Take a look at my next post to see the tasty treat I made with them.

Thursday 16 August 2012

London 2012 - Blog Break

My really good excuse for ignoring my blog for the past couple weeks...London 2012!!

Once upon a day, we saw the Olympic Rings on the Tower Bridge, looked out a train window and played peek-a-boo behind a bench...

We saw some special vehicles and flags of the world...

We played in front of athletic graffiti...

Another once upon a day, we showed Aunt Mary a beautiful castle and a guard...

Finally, late one night, we watched the USA win an exciting match...

Among the above events were so many other memorable moments from London 2012 Olympics. Here's a list of a few more that I can't find pics for at the moment...
  • Mens Gymnastics Team Final
  • Womens Cycling
  • Mexico vs. Senegal Football at Wembley
  • Kid Olympics at Anners
  • London Live at Hyde Park


Wednesday 15 August 2012

Pink Circle Dress


I know it's been ages since I've put anything up on my blog. But I do have a few things that have been hanging around, patiently waiting to be shared with my blog-viewing friends...and some pics coming soon of what has been occupying my time for the last couple of weeks. For now, just a quick one. 

I came home last week from meeting with a group of ladies to discuss One Thousand Gifts. What a surprise I got to find nobody home! Peace. Aaaah. Time to sew!

I used the same method as for my daughter's Jubilee Dress and sewed this pink dress in one afternoon! The skirt is from some fabric I picked up at my mom's neighbor's garage sale when I was in California earlier this summer and the top is one that came in the three-pack I bought for the Jubilee Dress. I didn't have any wide elastic, so I used some narrower and it worked really well for the dress. Of course and most importantly, my daughter loved it, . Her best friend stopped by as I was just finishing the hem and asked me to make her one, too! I couldn't say no, especially since I knew I had enough of the pink spotty fabric and one more tank from the three-pack. They are really excited to have matching dresses...and hopefully I'll be able to get some cute pics of them together when I finish the other dress.


Related Posts Plugin for WordPress, Blogger...